Soil moisture sensors are finally working again

I purchased a couple of LoRa data loggers and a LoRa gateway from Seeed Studio probably more than a year ago.  I liked these data loggers because of the quality of Seeed products, great customer support, reasonable price, and that they could each accept two analog inputs.

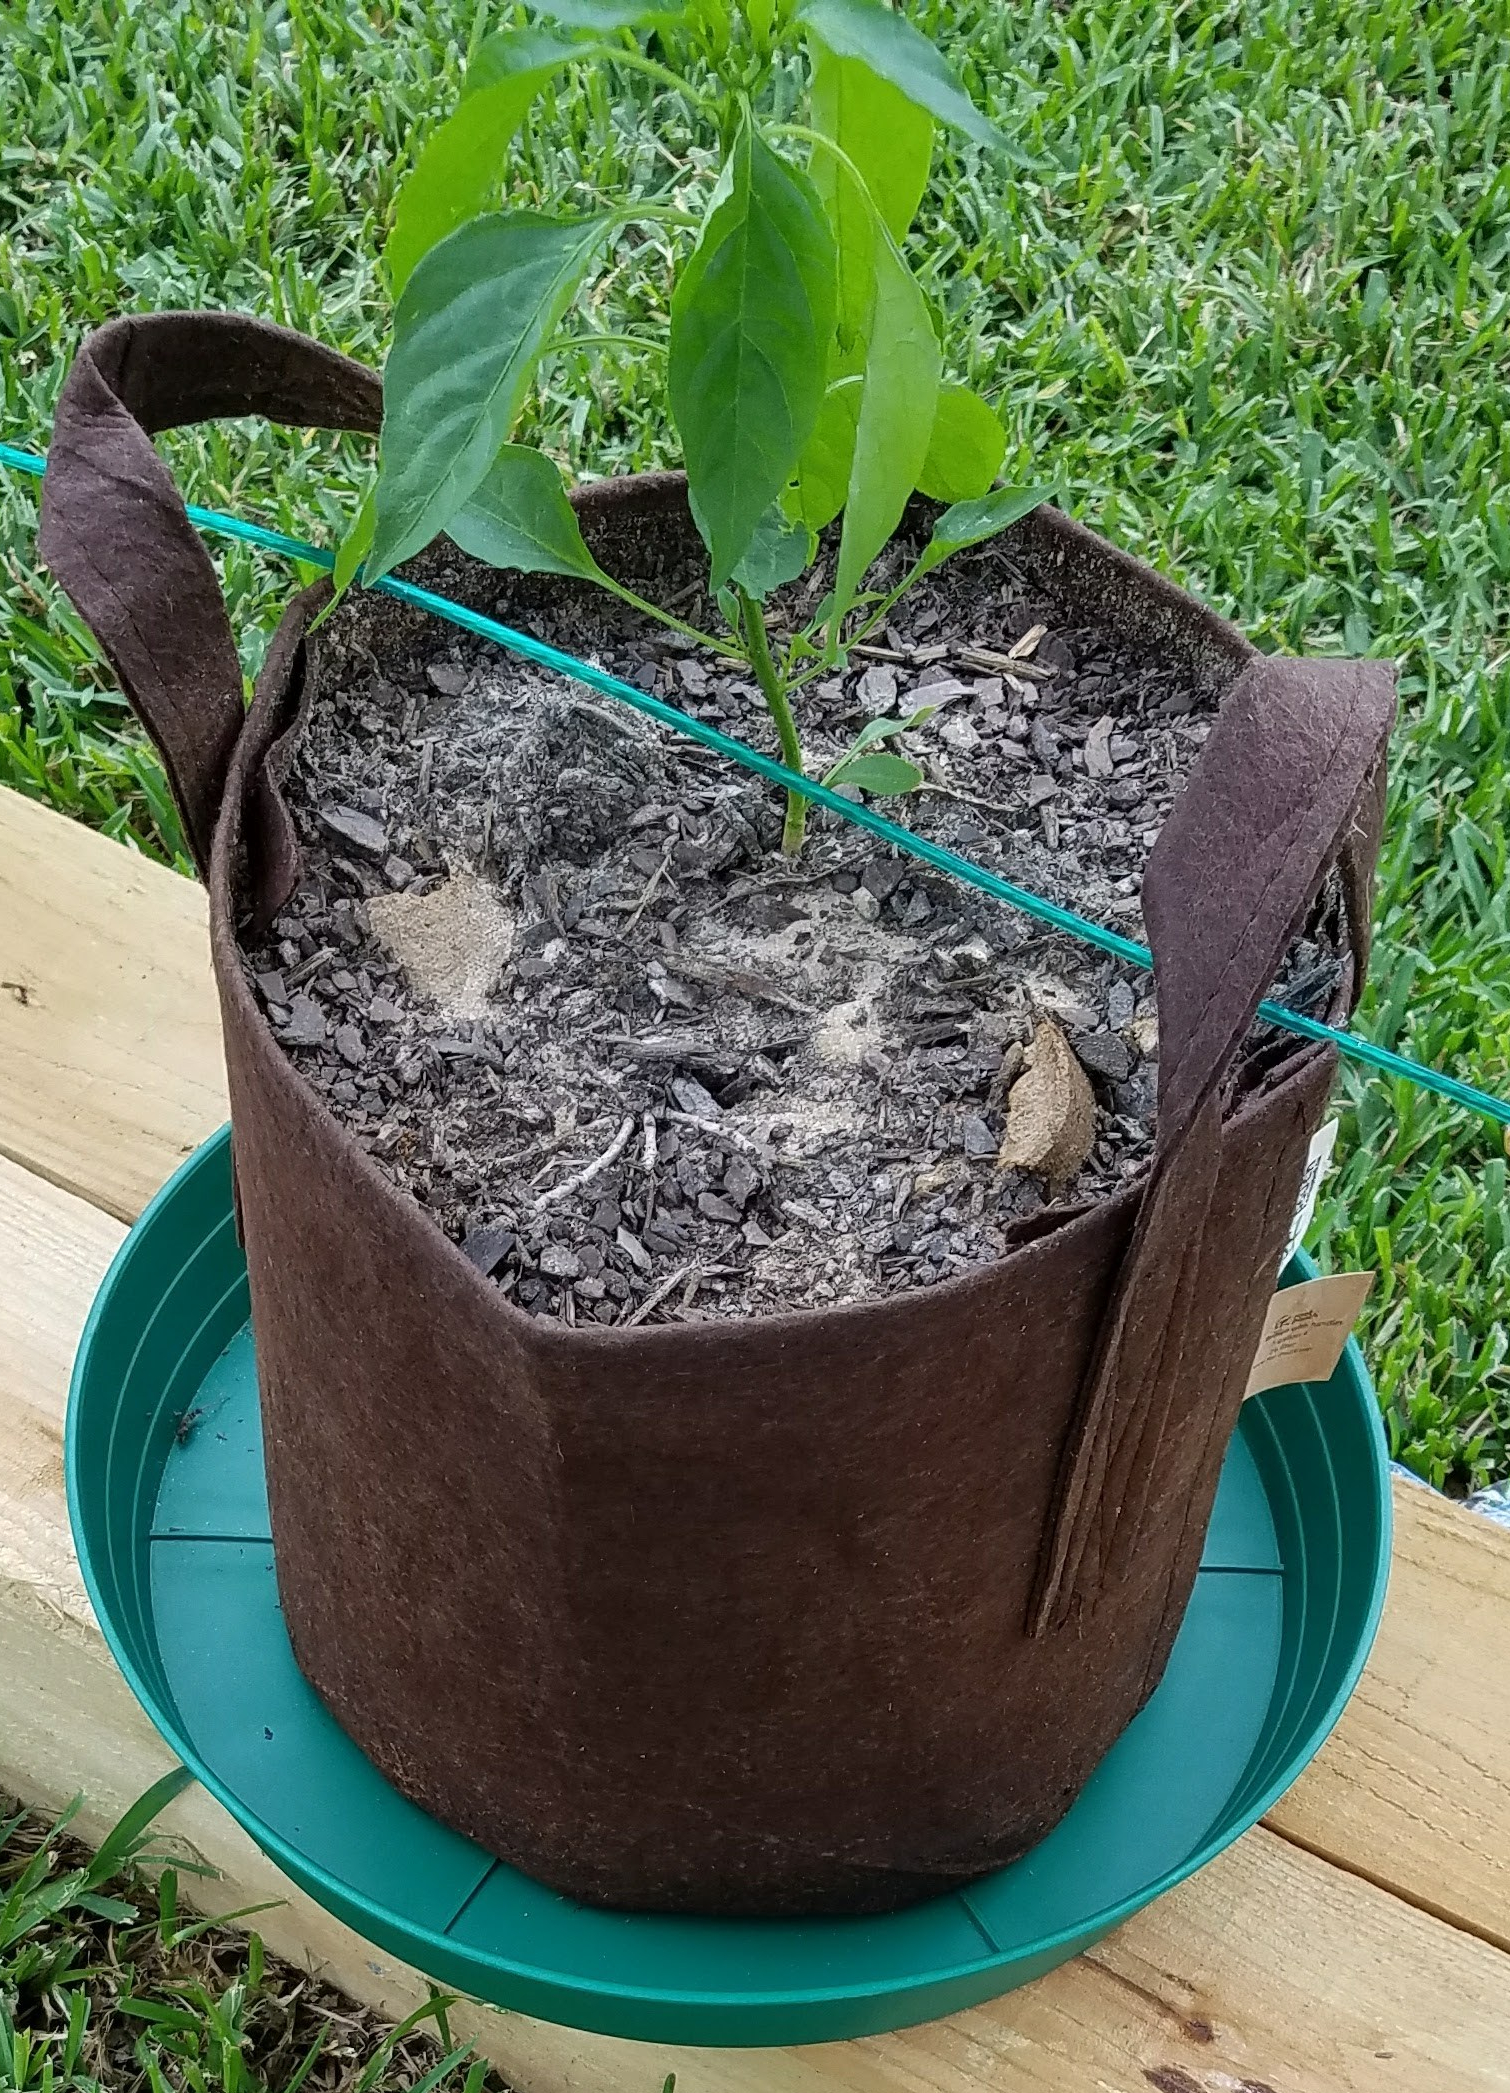
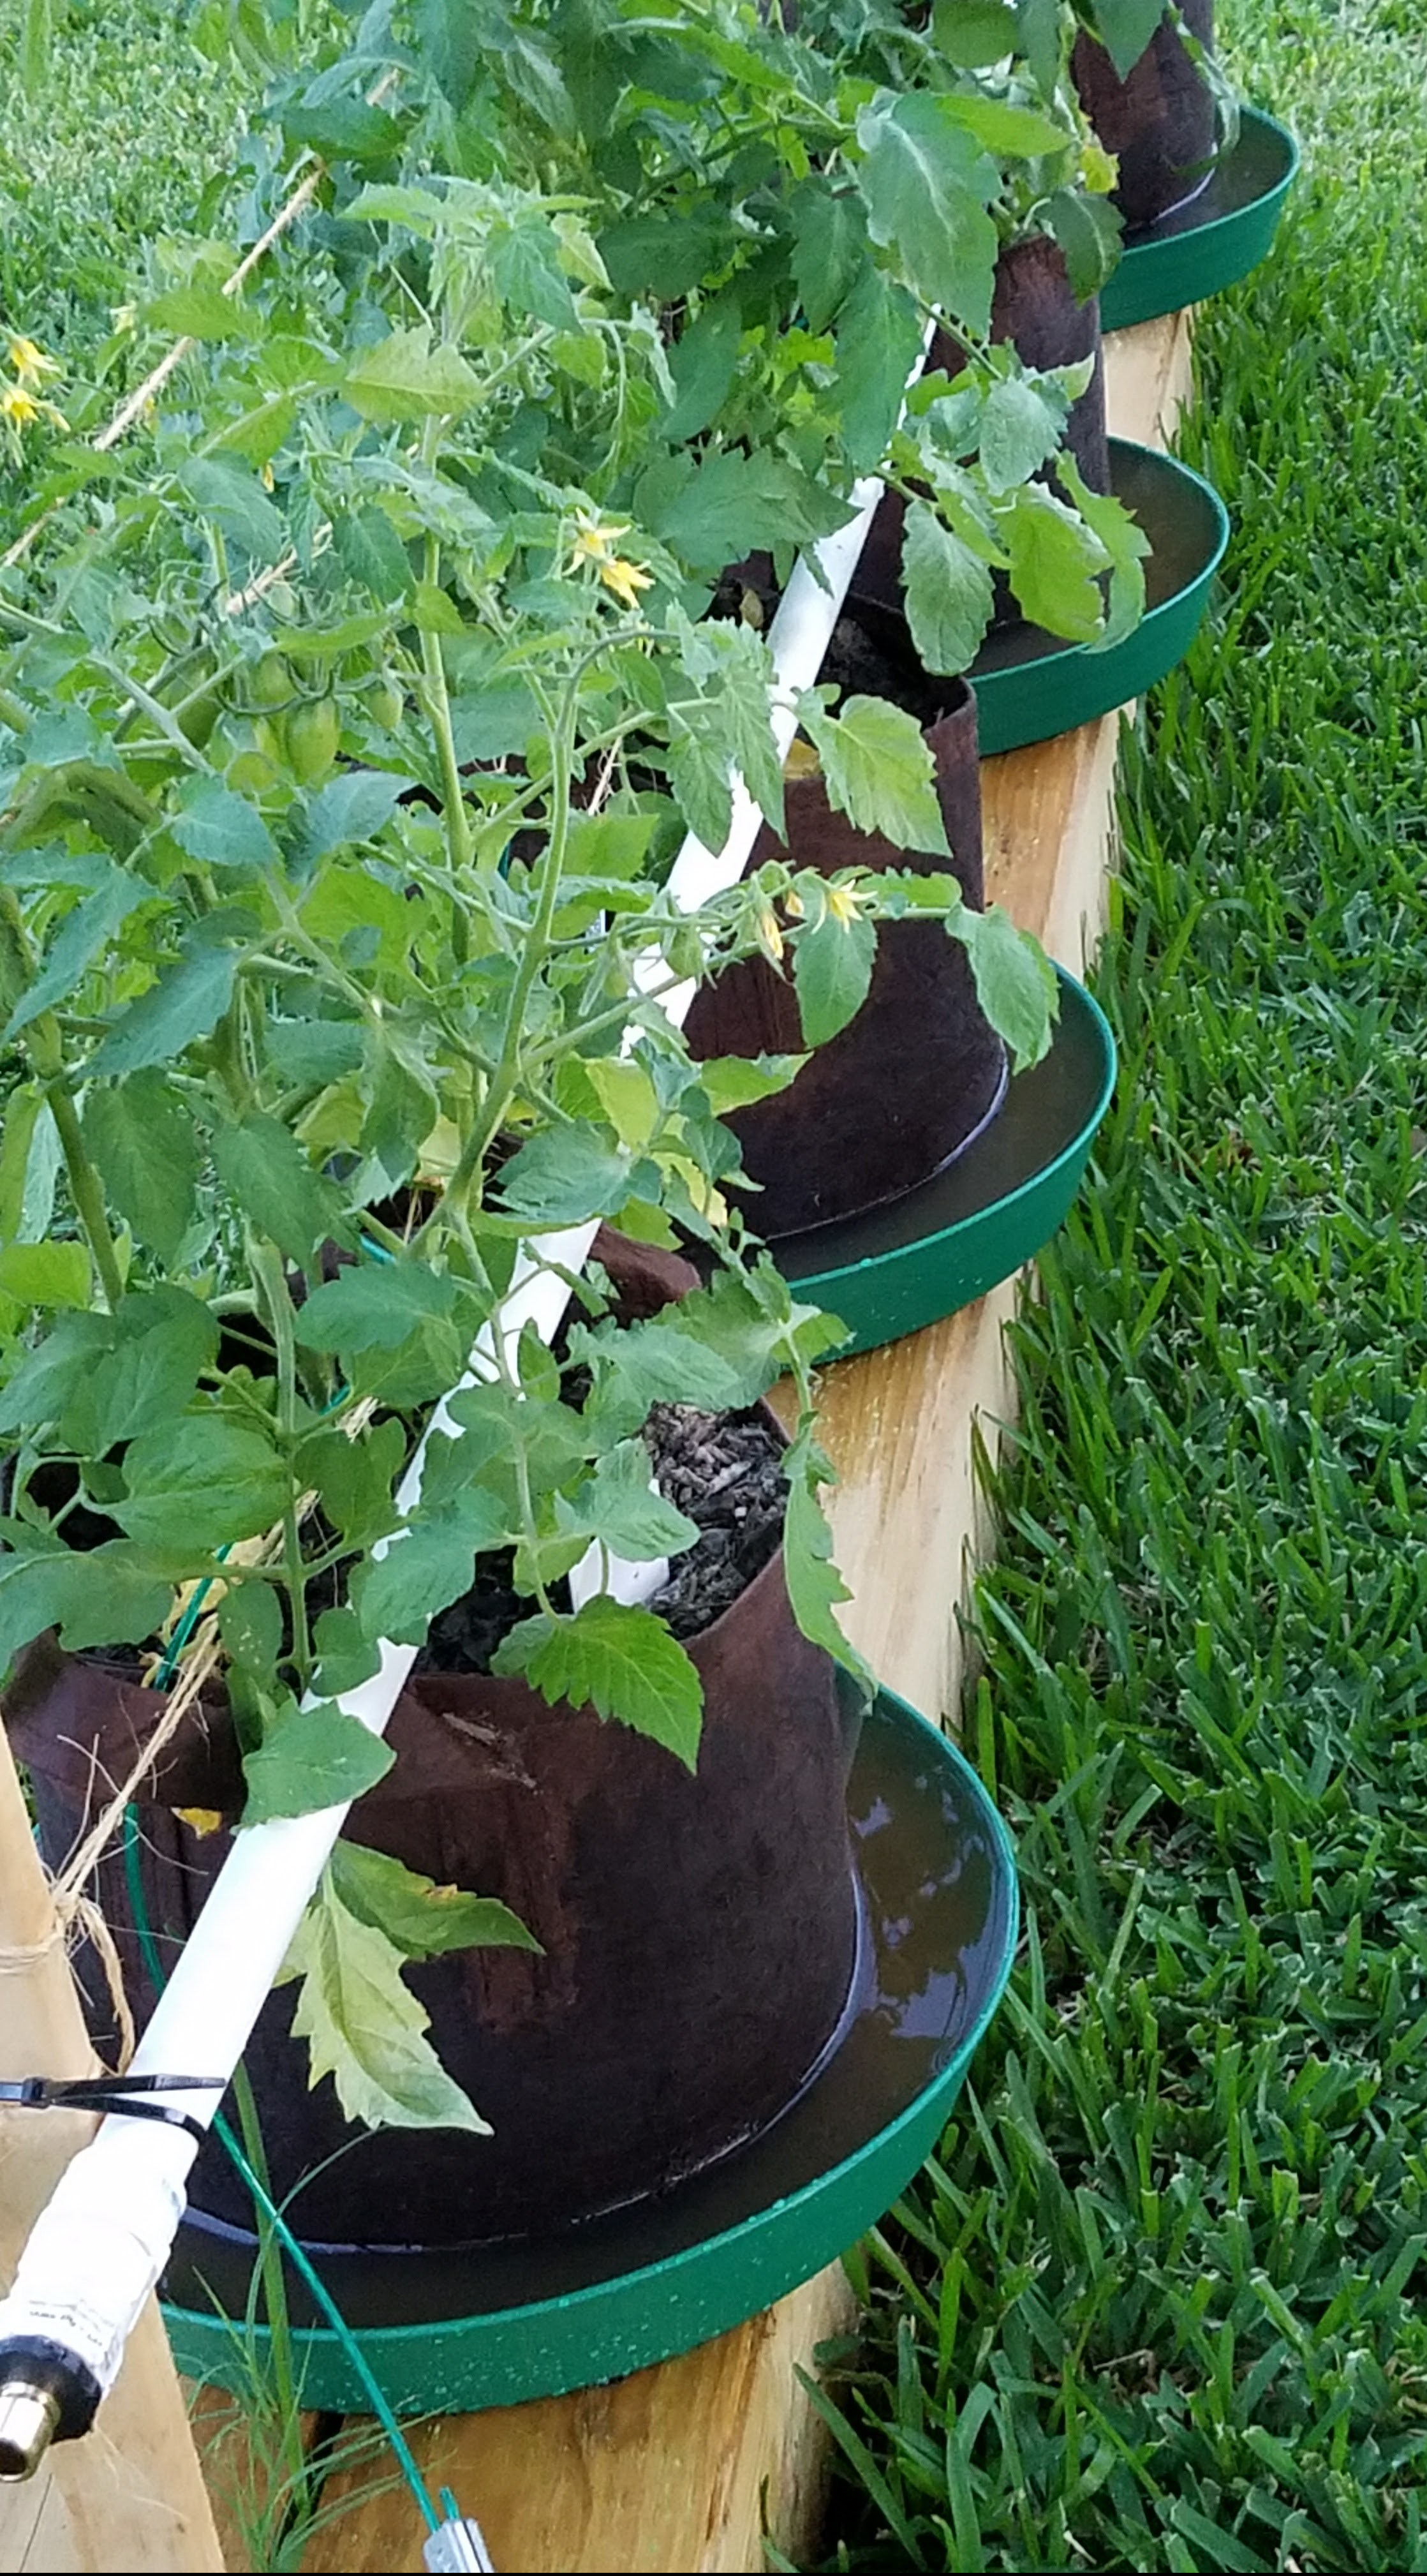
The analog inputs allowed me to add Vegetronix VH400 soil moisture sensors, which I’ve been impressed with from past use in a WiFi irrigation system I built.  Moving to LoRa isn’t necessary, but as far as that goes, neither is an automated garden irrigation system! 

Part of the appeal of the Seeed system is that they have a Home Assistant integration where I can set the gateway up using Chirpstack to transmit the data to my Home Assistant system and access my sensor data for data logging and irrigation system control.

This worked in my test setup for several months, but after a Home Assistant update, it stopped working several months ago. At least I thought it had.  I posted an issue about this on Seeed’s github page but never really got a good answer.  I’m not blaming them… they don’t have to make integrations just to satisfy my needs, but it was disappointing that it didn’t work.

I checked all of the settings in my Home Assistant setup, even reinstalled everything (three times!).  No luck.  I next tried a fresh install of everything on a different Rasberry pi (Home Assistant runs on a pi).  Still no luck.

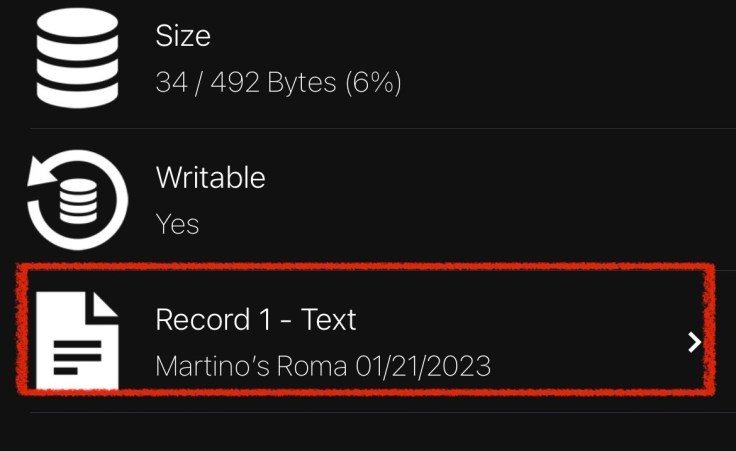
Going back through Seeed’s installation wiki, It said to check the gateway to see if it was transmitting.  I logged into the gateway and it was. I then checked to see if the pi was getting data in the MQTT broker in the Home Assistant setup.  It was too. I was on to something!

I dusted off my Node-Red skills… well, not so much skill as tinkering. I haven’t used Node-Red as much as I used to since I don’t build (solder and program) as many microcontroller sensor and switches as I used now that Home Assistant has so many integrations and the automations have improved so much.  Anyway, with the help of ChatGPT, I was able to bring the data in via MQTT, parse it for what I needed, format it to be recognized as sensors that MQTT could discover, and bam! It works. 

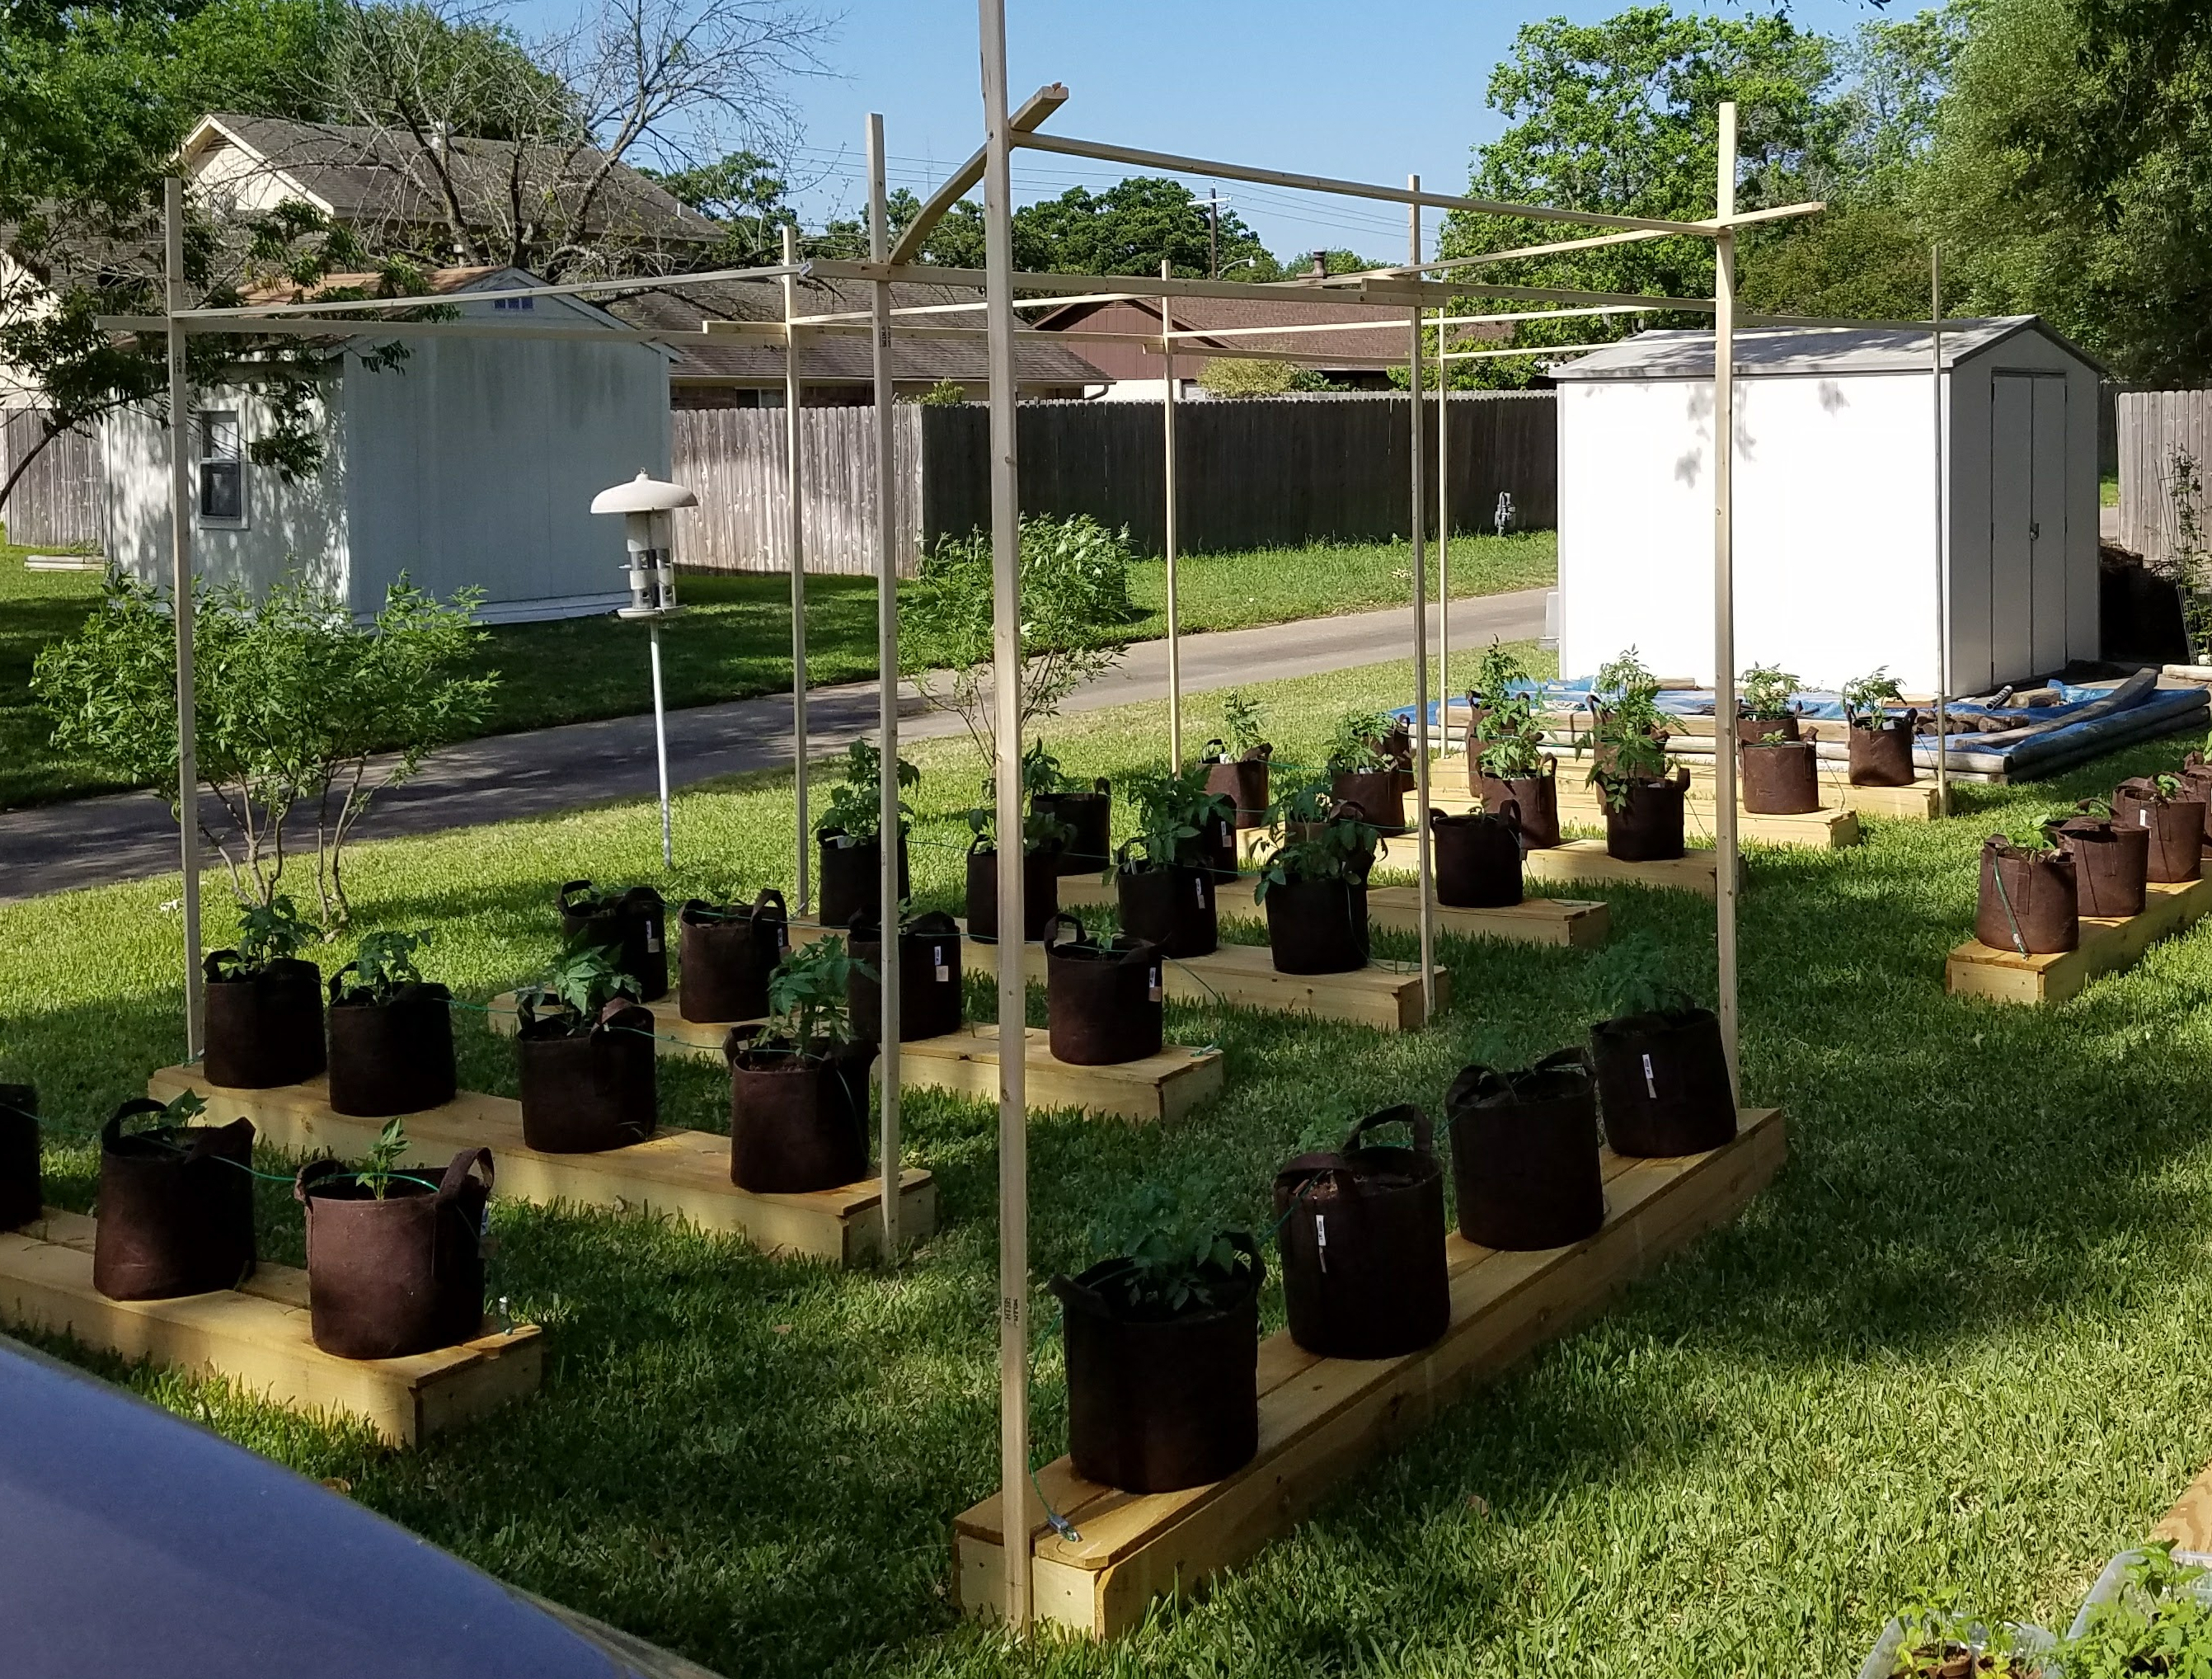
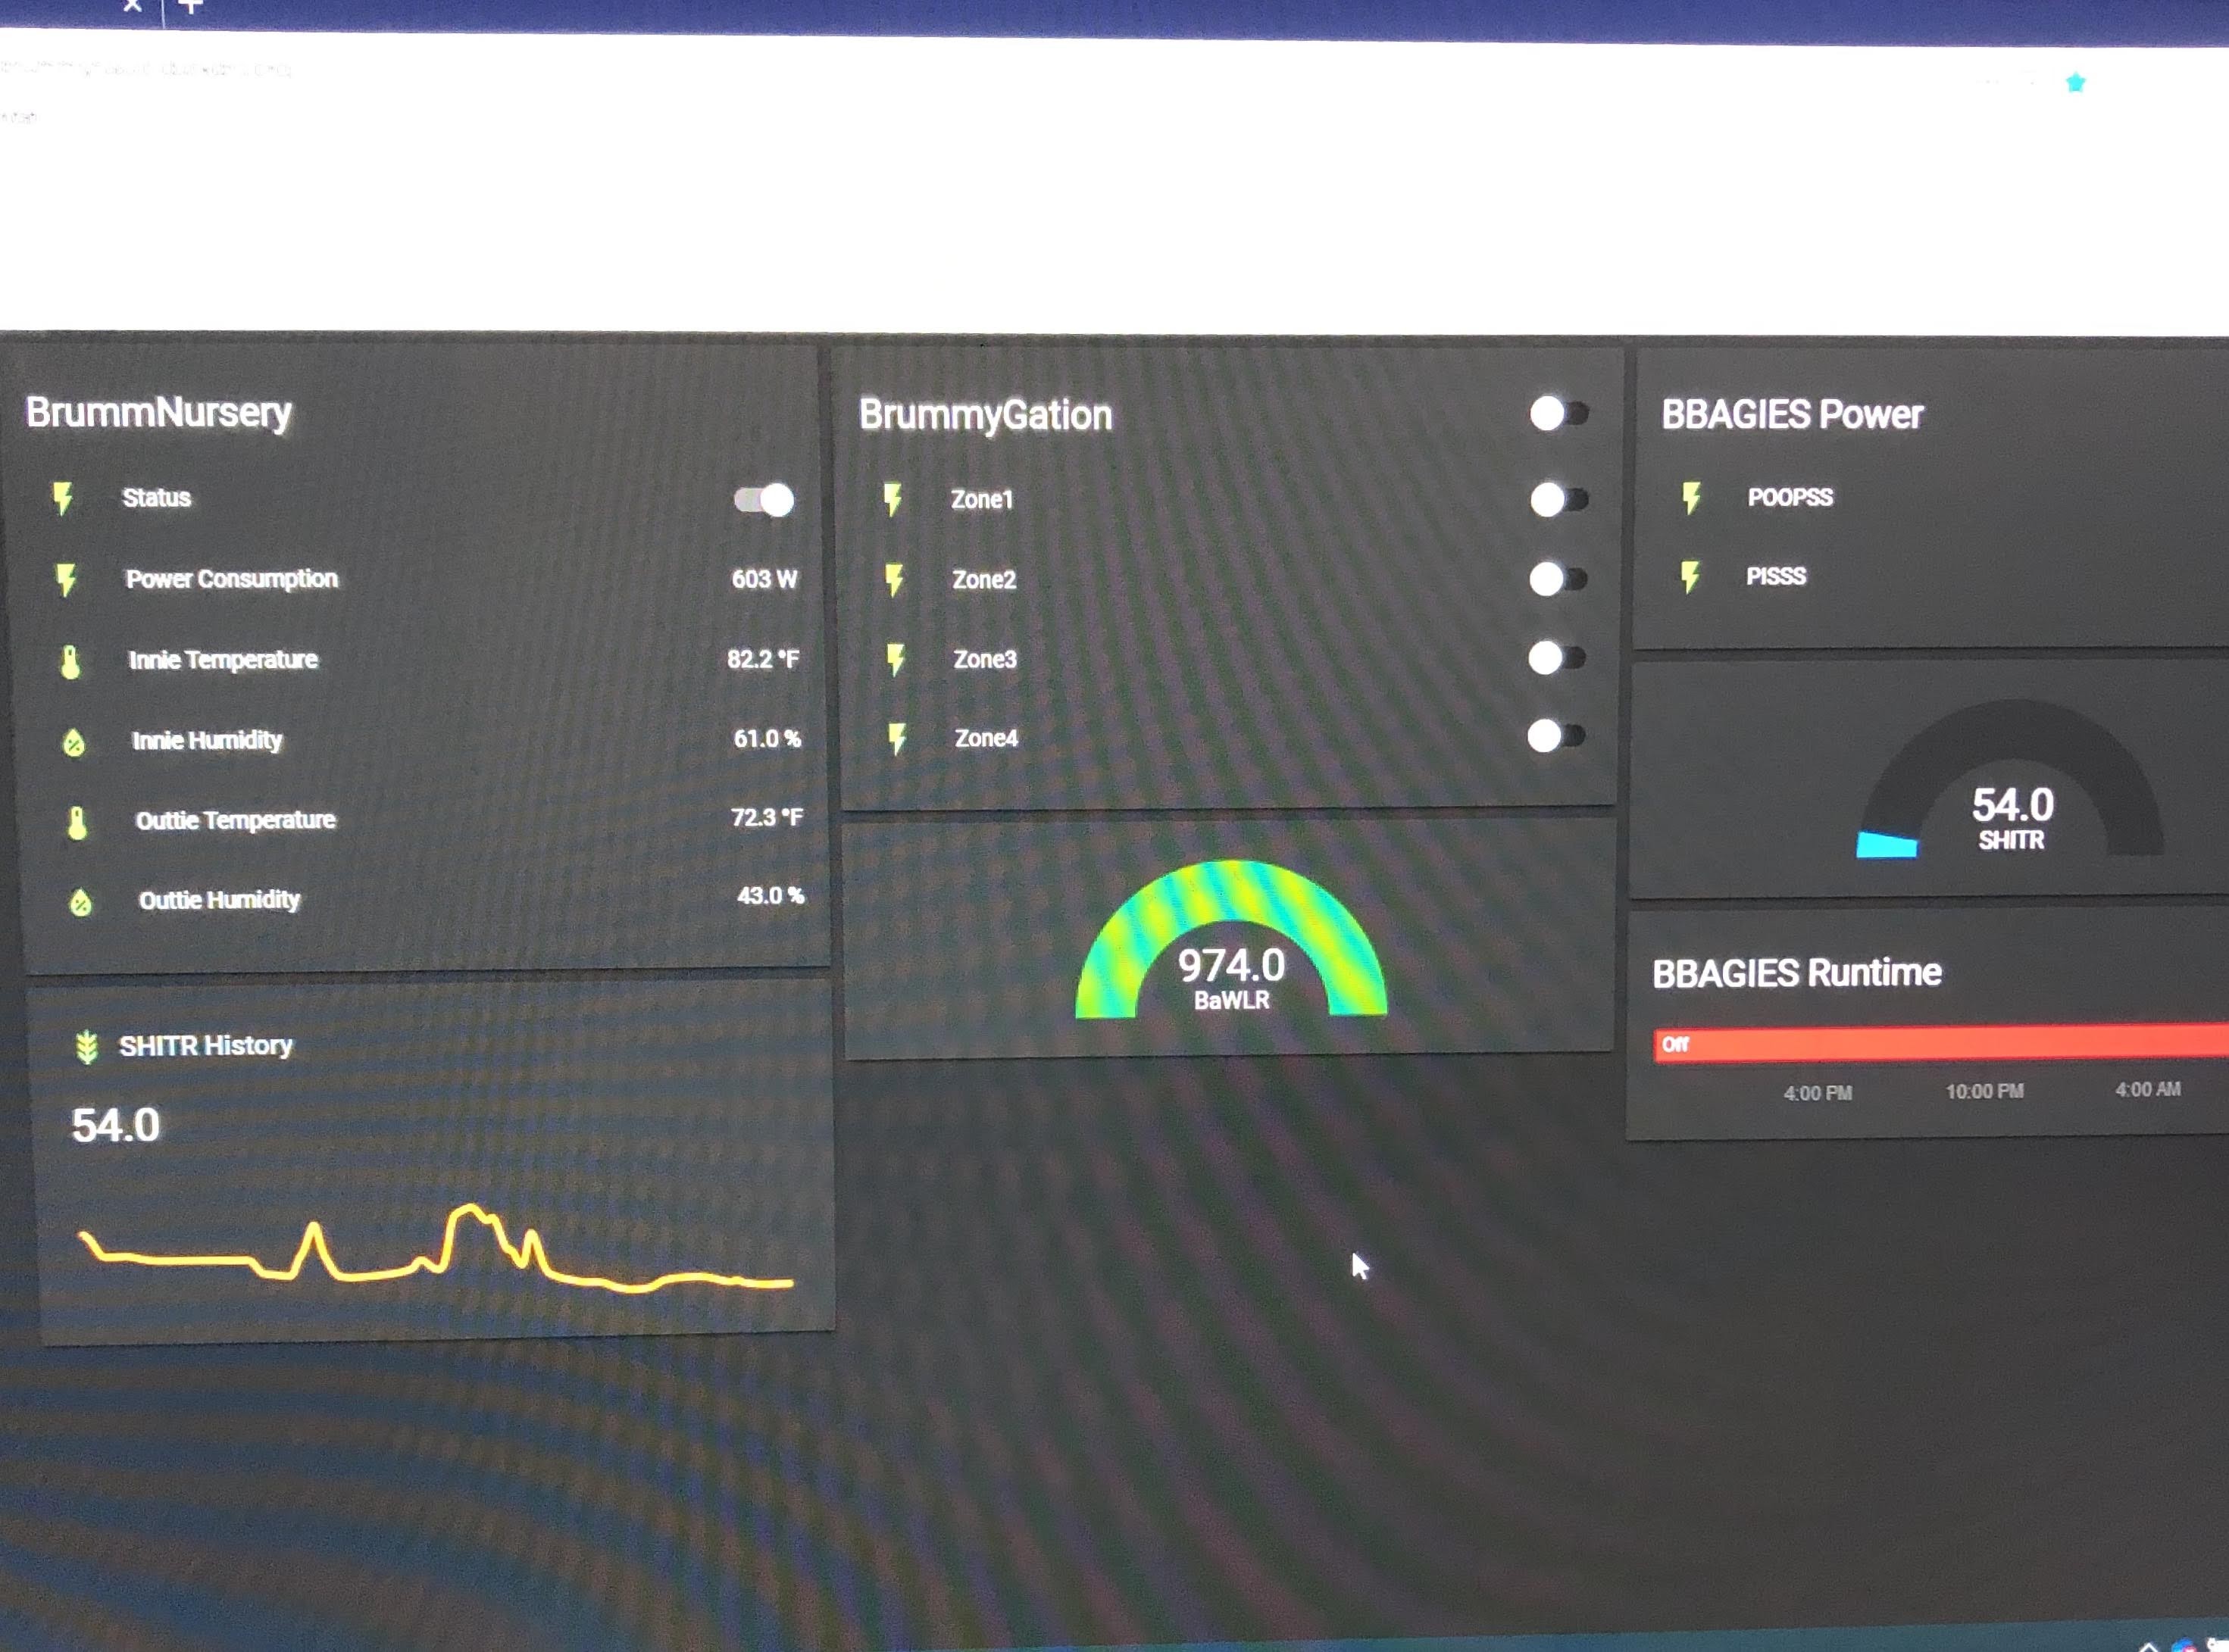
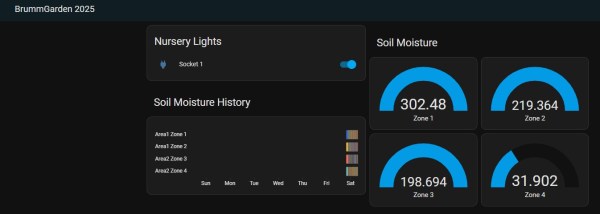
I set up a simple dashboard and can now see and log the data.  This is just an indoor set up for now.  No control or output to a database. Rather, it is the first step in rebuilding BBAGIES (BrummBilt Automated Garden Irrigation Efficiency System) v3ish.something.  BBAGIES will allow me to monitor four zones in my garden and control a pump from a IBC tote to turn the system on when a moisture level threshold is reached and off when the moisture level is sufficient. This will be on a zone-by-zone basis. I’ll have to establish the moisture level thresholds. I’ve tried calculating a moisture percentage in the past, but in reality, the raw data from the sensors and my experience and observation will let me set these thresholds.

More to come (if I can actually make myself sit down and write and post blog updates)!!

It’s Science Man

More tinkering for Garden 2023

January 21, 2023

I started seeds for the 2023 garden three weeks ago. Just peppers and tomatoes. Old peat pellets were in the garage, so that’s what I used initially. As much as I loathe peat pellets, they’re what I had. A week ago I started more in some “fancy” starter trays I found on Amazon. This blog isn’t about either of those, but it is about a new idea I have.

I found these net pots on Amazon. They appear similar to the netting around peat pellets… supposedly biodegradable, but I doubt that. Doesn’t really matter since they’ll tear off easily when I go to transplant plants to the garden.

I’ve been using plastic stakes and a sharpie to identify what’s what in each starter cell/pot, but that is tedious and the stakes are difficult to stick in the soil and get to stay in such a small container. I thought there had to be a better way.

Then I remembered I had ordered these NFC tags to tinker with in Home Assistant, but haven’t really used them, so I thought, “hmm, lets make something I can just scan with my phone to see “what’s what in the pot” (I made a rhyme!).

Here’s a brief description/how to (pics below):

  • Install a NFC reader/writer on your phone. I use NFC Tools from Wakdev on my iPhone. *note: your smart phone needs to be NFC-enabled (be able to read/write NFC tags)
  • Open the app and you’re ready to start
  • A menu will pop up. Select “Write”
  • Another screen will pop so you can “Add a record”. Click that.
  • You’ll have a lot of choices of format, but for this, I just used “Text” to put in the plant name and date
  • Hit OK
  • Hit “Write” and you’ll be prompted to approach the tag (hold the tag near the reader on your phone)
  • It’ll let you know the tag is written — you’ve created your first NFC tag!
  • I then placed the tag under the fold of the net pot I’ll plant in. Seems to hold pretty well.
  • You can then open NFC-Tools and hit “Read”
  • Approach the tag (sounds pompous doesn’t it) and a screen will pop up showing a lot of info about what’s on the tag. you want to scroll all the way to the bottom and you can see the text you put in.

This is pretty basic, but works for proof of concept. I’ll look for a better app that doesn’t require as many steps or have as much noise to read the tag info. I think I can find a way to use it in Home Assistant, maybe with Node-Red, or maybe I’ll even build my own NFC tag reader (either are very likely to happen… someday!).

It’ll be interesting to see how they hold up and if moisture will affect the ability to read them, but for now it seems to work.

As always, I’m enjoying the tinkering with making BrummBilt garden tech as much as (probably more) than the actual gardening itself.

Root Pouch Gardening

Note: I didn’t realize I hadn’t published this until now (September 6, 2020)…. several months later. About a week and a half after I wrote it, a hail storm blew in and obliterated my garden. It was looking awesome, but that just meant more greenery to be decimated (peppers and tomatoes only at that point). I may do a follow up on what it looked like and the resulting loss.

If there’s one thing I hate about gardening, it’s weeding.

When I bought my first house one of the first things I did was build raised beds. They were kind of addictive and I really enjoy gardening, however the maintenance was something I often neglected. In the off season, I’d always get lazy and grass would find its way in and overtake the beds. I’d spend a couple hours just tilling them up before I could plant.

I bought my current house just over four years ago. It came with one raised bed on the side of the shed. The first thing I did (with friends help) was work it up and get it planted. It did mediocre… too shallow, too much shade, and soil wasn’t that great. The next year, 2017, I said no more. No more raised beds that is. I still wanted to garden.

Checking out container gardening on YouTube I came across Root Pouches.

Root Pouch is a brand name for non-woven bags that you fill with soil and plant in. Plenty of videos out there touting their “air pruning” advantages. The theory is that as roots grow they reach the interior edge of the air-permeable pouch and the air stops the roots from growing outward and wrapping around, yet they remain viable and make the roots more efficient in taking up nutrients. I don’t know if that’s true or not, and I have seen one example of it in a small (one gallon) pouch I had chives in. Whether the theory is true or not, it was a pretty cool effect.

I went online and purchased 20, five gallon pouches. I got the non-degrading ones. They make less expensive ones that say they’ll last somewhere between 2 and 4 years if I recall correctly. Got them in in just a couple of days, got some soil, and spent an evening planting peppers and tomatoes. I liked them from day one.

One issue I had was that I didn’t want to just plop them on the ground. I wasn’t sure whether they’d hold up with direct ground contact even they were the non-degradable ones, and I didn’t want to tear them up weedeating around them.

This got my utilitarian/creative mojo going. Went to Lowe’s and got some treated 2×6’s, fence pickets, and nails. A few hours of cutting and nailing and I had some good looking platforms built.

I was new to the neighborhood, and didn’t want someone driving through the alley to stop and drive off with my garden. Back to Lowe’s I went. Got some plastic coated cable, cable clamps, and eyelet screws. The idea was to attach the cable to the platform and string it through the pouch handles.

It worked, but was a pain in the ass especially when I later broke the garden down and stored everything off to the side of the yard over the winter. I later realized the chance of theft was low and if someone wanted to swipe my pouches, the cables were of little deterrence. I didn’t use them after the first year.

While putting everything together that first year, I came across some heavy duty green plastic trays to set the pouches in on the platforms (see image above). The videos I had seen said these helped with water retention (root pouches get good airflow and will dry out quickly). I ordered 20 and set them under the pouches. They worked great (and looked cool).

Before I got the first 20 done I had already decided I wanted more. Back to Amazon and Lowe’s I went for 20 more pouches, trays, and materials for platforms. Next thing I knew I had taken up most of my back yard with 40 pouches on 10 platforms.

Things went pretty well, except it took way too long to water each one individually via hose, so I began building the first iteration of an irrigation system. In the first two years I was able to hook hoses up to pvc pipes with holes in them on each platform, The watering time went from about an hour and a half to about 10 minutes.

Last year I built an automated system that was awesome. Working on a new iteration this year for the redesigned garden. I’ll write a separate blog on my irrigation adventures.

Over the past three years I’ve learned a lot about gardening in root pouches:

  • They will get weeds in them, but are very easy to keep under control.
  • The trays enable watering from the bottom (works better on tomatoes)
  • Cucumbers don’t do well (May try again someday)
  • Algae can grow on the outside of the pouch, but easy to blast off with a hose
  • They do dry out quickly on hot Texas days
  • Really easy to take care of the plants, but mowing and trimming around the platforms gets old very quickly
  • Plants are limited to more upright things (I had built a trellis for the cucs) so melons, squash, zucchini are pretty much a no-go with my setup

Like anything there are down sides, but I’ve gotten better at using them over the past three years.

I did buy some one gallon pouches for herbs. They worked ok, but I didn’t have an irrigation system on them so they did get neglected. The chives I mentioned previously are the exception. They overwintered outside and the second year really took off.

There are pluses and minuses to root pouch gardening. I enjoy the challenges of trying something different and seeing how much better I get at gardening with them from year to year.

I’ve got some pretty cool things going with garden setup changes this year and will make a separate post about Garden 2020 (big hint in a pic I added to a previous post).

Blog at WordPress.com.

Up ↑